
Why Vertical Space Is the Overlooked Dimension
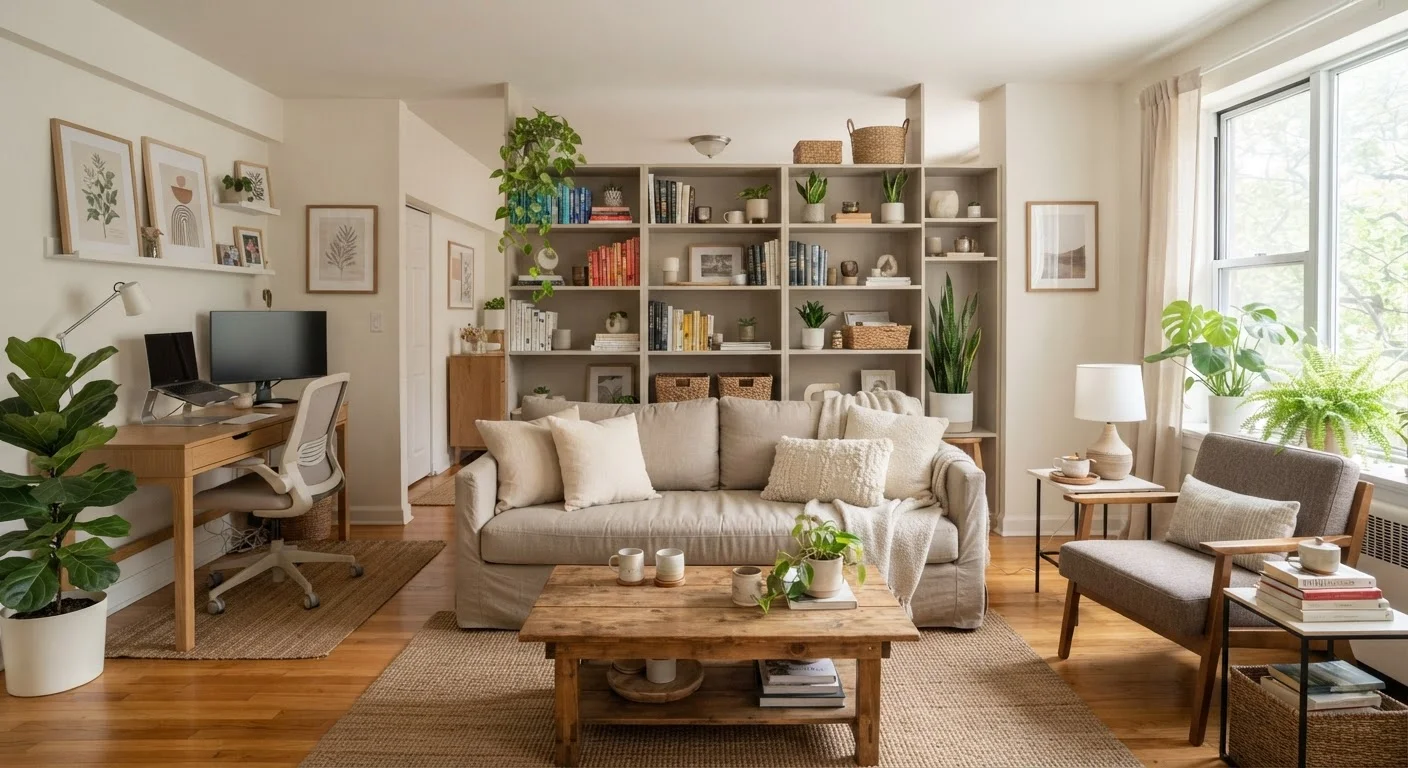
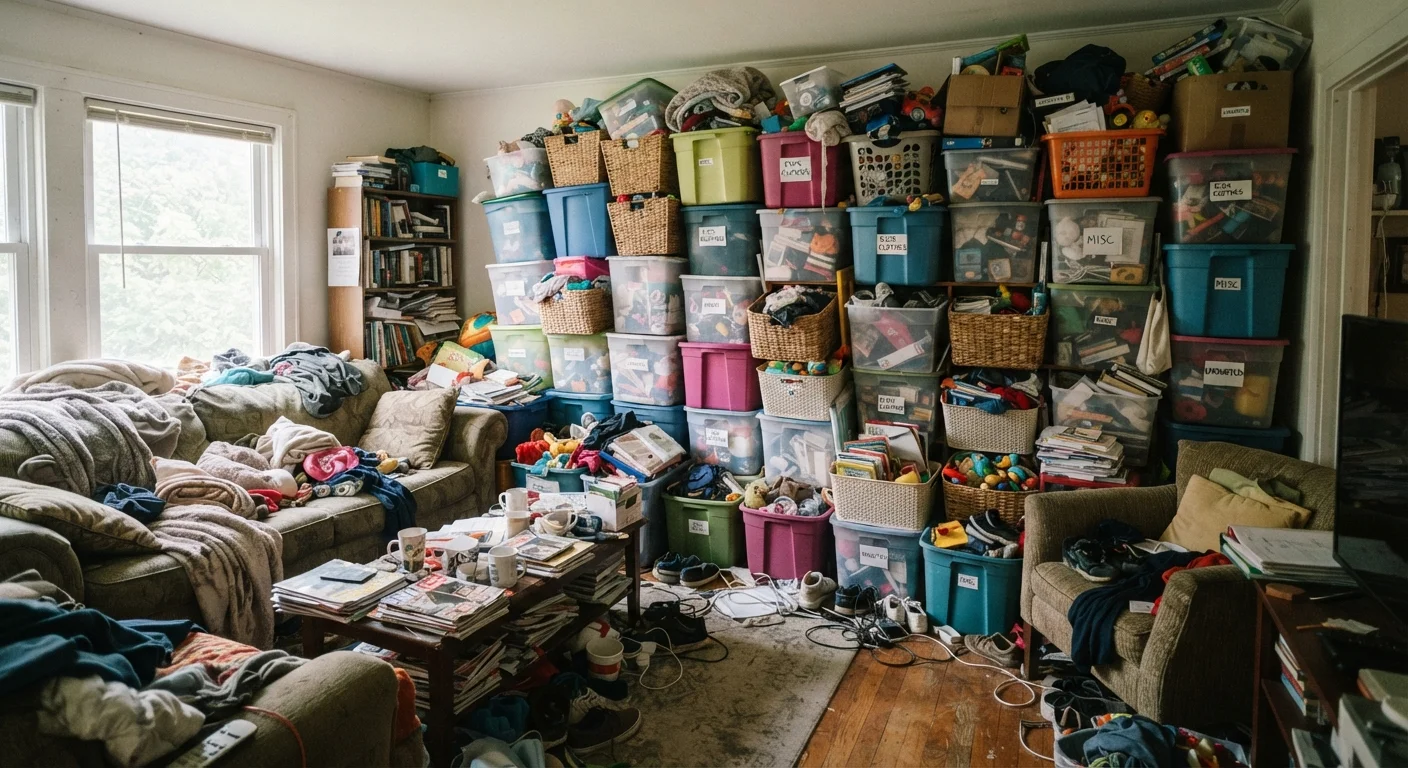
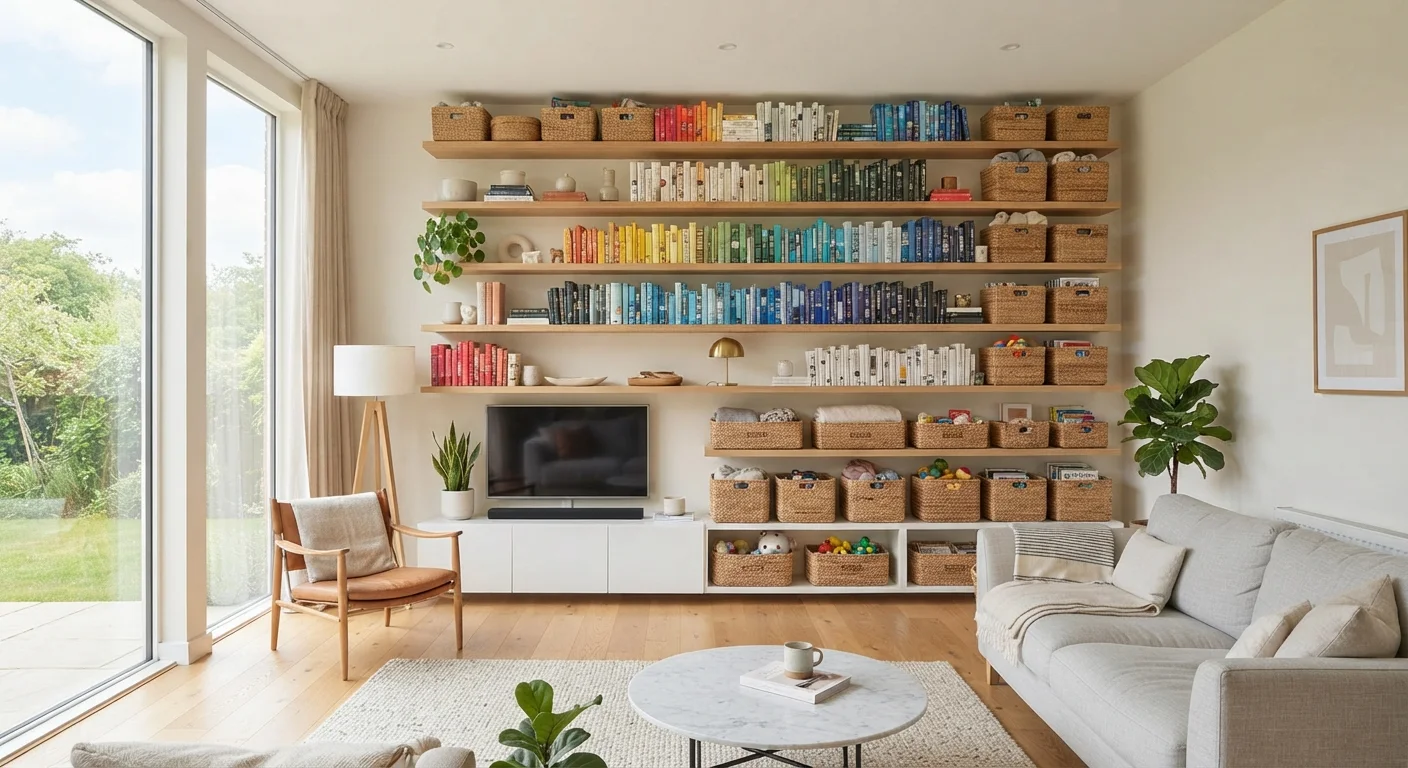
Floor space gets obsessive attention in home organization - furniture arrangements, floor plans, square footage. But the walls between knee height and ceiling are where most homes leave enormous capacity unused. In a standard room with 8-foot ceilings, there is often more usable storage surface on the walls than on the floor, yet the average home uses only a fraction of it.
The reason is partly perceptual. Human vision naturally settles at eye level, so storage solutions that sit above or below that band become invisible over time. The result is a home where floor space feels perpetually tight while walls stand empty. Thinking vertically does not require a renovation - it requires a shift in how you read a room.
This connects directly to a broader point explored in storage myths that keep homes feeling cramped: the problem is rarely a shortage of space, it is a failure to use the space that already exists. Vertical thinking is one of the most immediate corrections available.
Stud finder
Locates wall studs so shelves and brackets can be anchored safely.
Drill and drill bits
Creates pilot holes and drives screws for mounting brackets and wall systems.
Level
Ensures shelves are installed horizontally so items do not slide or tip.
Tape measure
Helps plan shelf spacing relative to what you intend to store.
Non-slip step stool or ladder
Provides safe, stable access to high shelves during installation and daily use.
Wall anchors (appropriate type for your wall material)
Secures hardware in walls where studs are not present or wall material is masonry.
How to Reclaim Your Walls, Step by Step
The steps below take you from a rough audit of your existing walls through to a fully functioning vertical storage system. Whether you are working with a small apartment or a larger home where specific rooms feel overwhelmed, the process is the same. For readers with compact floor plans, these techniques pair well with the strategies covered in small-space storage approaches.
What you will need
Conduct a Wall Audit in Each Room
Walk through each room with a tape measure and note the total wall height, how high your current furniture reaches, and how much empty wall space sits above it. In most homes, furniture caps out at around 36-48 inches, leaving 4-6 feet of wall completely unused. Photograph the walls for reference. This audit becomes your planning document - it reveals opportunities you would otherwise overlook because the eye adjusts to what is already there.
Sort What You Own by Access Frequency
Before mounting anything, categorise your belongings into three tiers: items you use daily, items you use weekly or monthly, and items you use seasonally or rarely. This frequency map determines where things should live vertically. Daily-use items belong within easy reach - roughly between knee and shoulder height. Everything else is a candidate for upper shelving or overhead storage. If you are managing shared spaces, this step involves a conversation; for guidance on that dynamic, see organizing a home with others.
Identify Your High-Value Vertical Zones
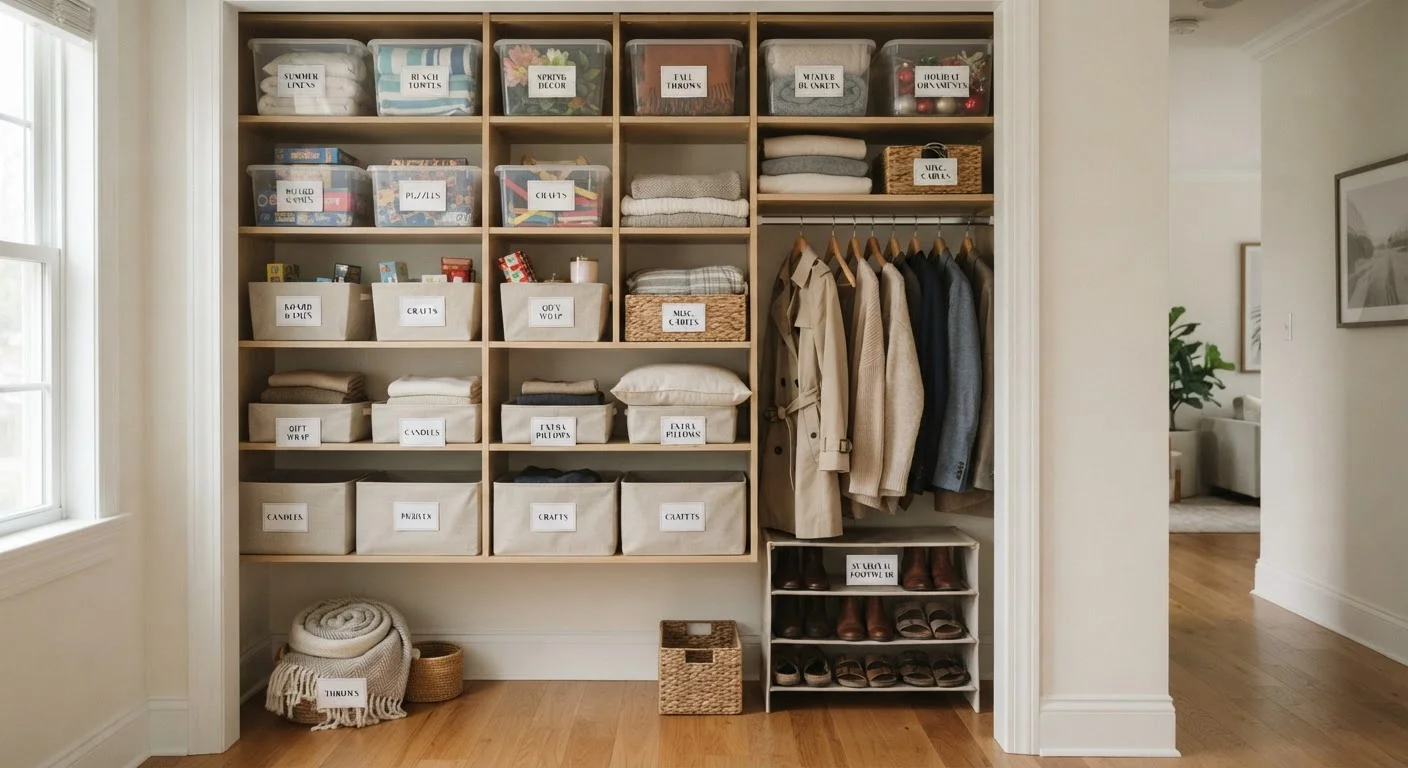
Three zones tend to be universally underused: the space above kitchen cabinets, the full height of closet interiors, and the backs of doors. Above-cabinet space suits infrequently accessed items stored in uniform bins. Closet interiors can often accept a second hanging rod at a lower height plus a shelf system that extends all the way to the ceiling. Door backs - on pantries, bathrooms, and bedroom closets - accommodate shallow over-door organizers that hold a surprising volume without adding footprint.
Plan Shelf Spacing Around What You Are Storing
A common mistake is spacing shelves at equal intervals regardless of what they will hold. Measure the actual height of the tallest items going on each shelf, add 1-2 inches of clearance, and use that as your spacing. This approach fits more shelves into the same wall height. Adjustable shelving systems - those that use standards (vertical metal tracks) and movable brackets - give you flexibility to reconfigure as your needs change, which is worthwhile in rooms like home offices or pantries where inventory shifts over time.
Install Anchored Shelving Safely
Locate studs using your stud finder and mark their positions with low-tack tape. For bracket-style shelves, aim to hit at least one stud per bracket. If your layout cannot reach a stud, use wall anchors rated for the expected load - check the packaging for weight limits and match them to your wall material. Install one bracket at a time, checking level frequently rather than at the end. A shelf that is even slightly off-level becomes visually distracting and causes items to migrate toward one end.
[important_callout]
Assign Items and Create a Retrieval System
Once shelving is in place, place items according to the frequency tiers you established in step two. Store seasonal or rarely needed items - holiday décor, spare linens, infrequently used equipment - on the highest shelves. Group related items in clearly labeled bins so you can retrieve the container rather than searching through loose items at height. For a deeper look at cycling seasonal items in and out efficiently, the seasonal organization guide covers rotation strategies worth pairing with a vertical approach.
[tip_callout]
Height Creates Access Challenges
Storing items above eye level means you will need a step stool or ladder to retrieve them regularly. Never use chairs, shelving units, or stacked boxes to reach high storage. A stable, non-slip step stool is a worthwhile addition to any home before you commit to high-mounted storage solutions.
Making Vertical Storage Work Long-Term
Installing shelves is the easy part. Maintaining a vertical system over time comes down to two habits: putting things back where they belong, and periodically reassessing whether what you have stored still belongs in your home at all. High shelves have a tendency to accumulate items that were put there temporarily and then forgotten. A brief annual review - pulling everything down from the top tier and deciding deliberately what goes back - prevents this.
If your home layout is also a question, it is worth considering how vertical storage interacts with the overall structure of your space. Readers weighing room layouts will find relevant context in open-plan vs. defined rooms. Whatever your floor plan, vertical space is available in every configuration - it simply needs to be activated deliberately.