
Where Heat Actually Leaves Your Home
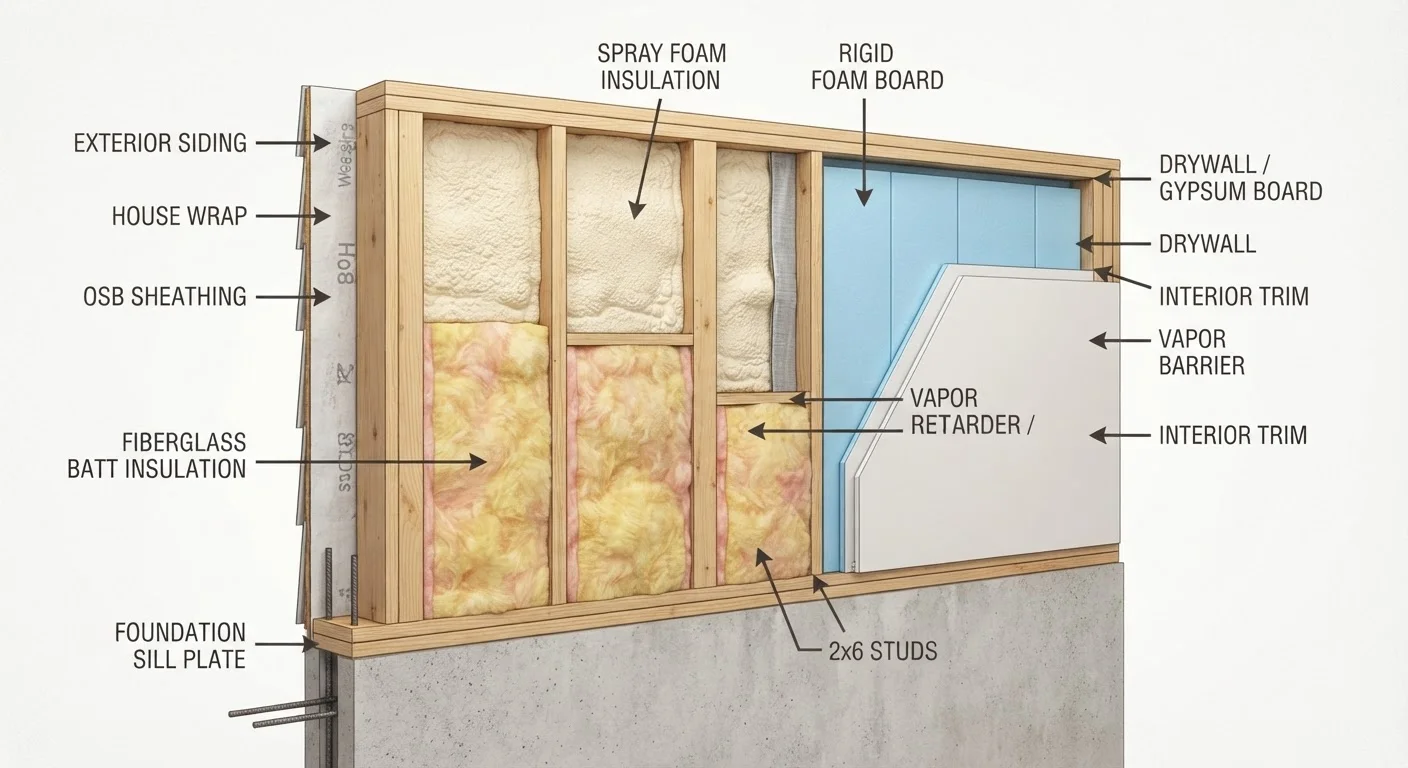
Before you buy a tube of caulk, it helps to understand where conditioned air typically escapes. Research from the U.S. Department of Energy consistently identifies a set of predictable leak zones in most American homes: gaps around window and door frames, penetrations where pipes and wires enter walls, attic hatches, fireplace dampers, and the sill plate - the horizontal lumber that sits between your foundation and the first floor's framing.
Two quick detection methods work without specialized equipment. First, on a cold, windy day, hold the back of your hand near suspected gaps; moving air feels noticeably cooler. Second, hold a lit incense stick near seams and watch for smoke deflection. For a more systematic approach, a home energy audit - available through many utility companies - uses pressurization equipment to identify every significant leak point.
Understanding the leak type matters because it determines the fix. A gap that never moves - like the joint where a window frame meets drywall - needs caulk. A gap that opens and closes with use - like the contact between a door slab and its frame - needs weatherstripping. Using the wrong material in either location guarantees early failure. This article is also a natural companion to understanding insulation types, since air sealing and insulation work together rather than substituting for each other.
Don't Seal Around Gas Flues or Combustion Vents
Never apply caulk, foam, or weatherstripping around gas water heater flues, furnace vents, or any combustion appliance exhaust. Blocking airflow in these areas creates a serious carbon monoxide risk. Any sealing work near combustion appliances should be assessed and performed by a licensed HVAC technician.
Materials and Tools You'll Need
Gathering the right supplies before you start prevents mid-project interruptions and ensures compatibility between materials.
Caulk gun
Dispenses caulk cartridges at a controlled rate for smooth, consistent beads.
Silicone or siliconized latex caulk
Seals stationary gaps around exterior windows, doors, and penetrations.
Paintable acrylic latex caulk
Seals interior trim joints where a paintable finish is needed.
Adhesive-backed weatherstripping (foam or V-strip)
Creates a compressible seal along door and window sash contact edges.
Door sweep
Seals the gap between the bottom of a door and the threshold.
Plastic putty knife or caulk removal tool
Removes old, cracked caulk without damaging the surrounding surface.
Expanding foam sealant
Fills larger irregular gaps around pipes and cable penetrations in unconditioned spaces.
Foam outlet gaskets
Insulates behind electrical outlet and switch cover plates on exterior walls.
What you will need
Step-by-Step: Sealing Gaps and Installing Weatherstripping
Work through these steps methodically - starting with the largest, most obvious leaks and finishing with smaller gaps. For more context on how these air-sealing tasks fit into a broader home maintenance routine, see the seasonal home maintenance calendar.
Identify and mark all draft locations
Walk through the home on a cold day with the back of your hand or a lit incense stick. Check every window frame perimeter, door frame perimeter, baseboards on exterior walls, electrical outlets and switch plates on exterior walls, and where pipes or cables enter through walls. Use painter's tape or sticky notes to flag each location so you don't lose track.
Clean and prepare all surfaces
Remove old, cracked, or peeling caulk using a plastic putty knife or a dedicated caulk removal tool. Scrub the joint clean with a stiff brush and wipe down with a dry cloth. Surfaces must be dry and free of dust, grease, and loose paint before any new sealant is applied. For weatherstripping replacement, remove the old strip completely and clean the door stop or sash channel with rubbing alcohol, letting it dry fully.
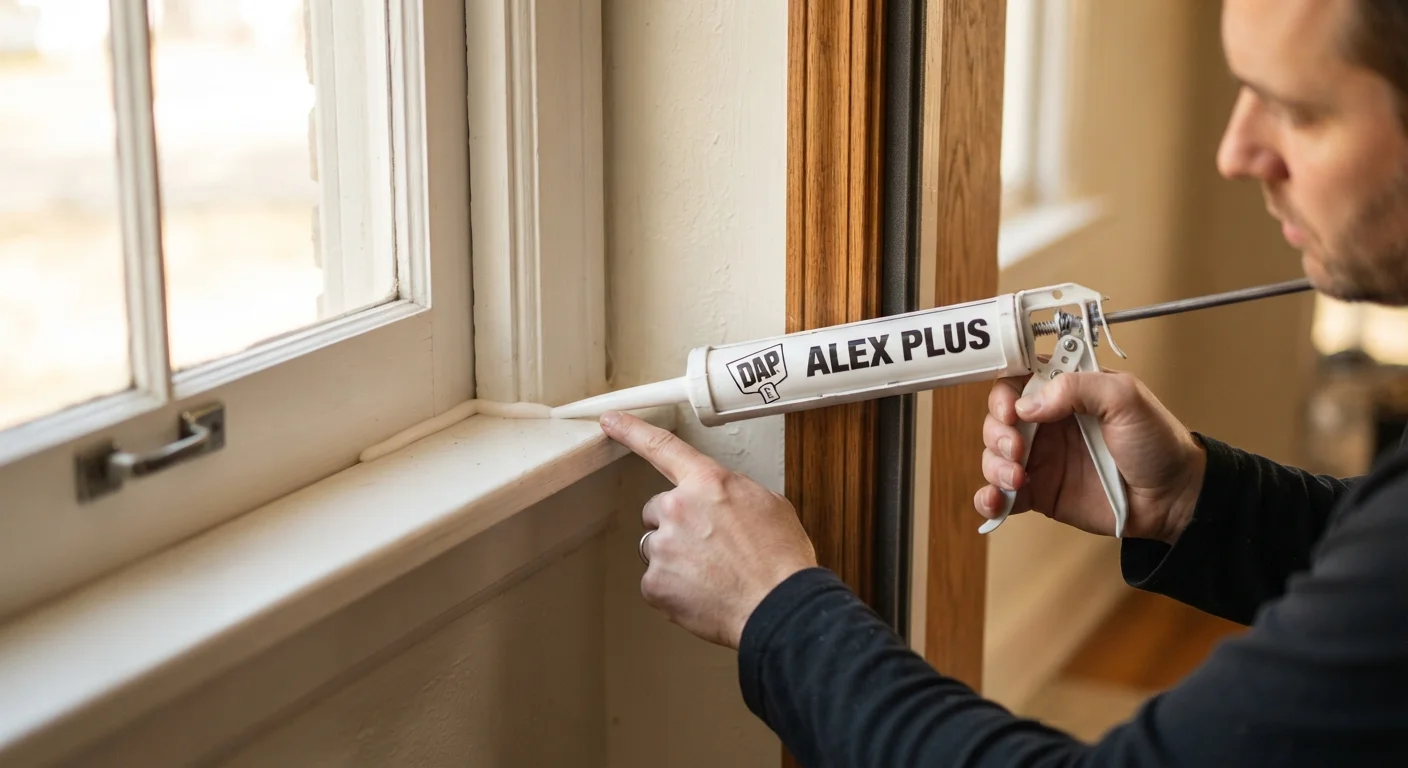
Apply caulk to stationary gaps
Load a caulk gun with the appropriate sealant - silicone or siliconized latex for exterior or wet-prone joints, paintable acrylic latex for interior trim joints. Cut the cartridge tip at a 45-degree angle to produce a bead slightly narrower than the gap. Hold the gun at a consistent angle and move at a steady pace, pulling rather than pushing the gun along the joint. Immediately smooth the bead with a dampened finger or a caulk finishing tool, pressing it into the gap. Wipe away excess before it skins over.
Install or replace door weatherstripping
Measure the door stop on the latch side, hinge side, and top. Cut foam tape, V-strip (tension seal), or door sweep material to length using scissors or tin snips depending on the type. For adhesive-backed foam or V-strip, peel the backing and press firmly into the door stop channel so the strip contacts the door face when closed. For a door sweep at the bottom, align it so it just grazes the threshold and secure with the provided screws.
Seal window channels and sashes
For double-hung windows, V-strip weatherstripping fits into the sash channel on both sides and at the top of the upper sash. Press it into the channel with the open end of the V facing the outside so that closing the sash compresses the strip. For casement or sliding windows, adhesive foam tape works along the sash perimeter. For any gap between the window frame and the surrounding wall trim, apply interior caulk in a smooth bead.
Address outlets, switches, and penetrations
Turn off the circuit breaker for the outlets you're working on. Remove outlet and switch cover plates on exterior walls. Place pre-cut foam gaskets - inexpensive and available at hardware stores - behind each plate before screwing it back on. For pipe and cable penetrations in the basement or utility areas, use expanding foam sealant formulated for gaps around pipes; do not use expanding foam near heat sources or within fireboxes.
Re-test and verify the seals
After all caulk has cured (check the product label - typically 24 hours for full cure), repeat the hand or incense test at every location you treated. Confirm that doors and windows open and close smoothly and that weatherstripping contacts evenly. Note any spots that still show airflow for a second-pass treatment.
Timing Your Project for Best Results
Most caulks should be applied when temperatures are above 40°F (4°C) for proper adhesion and cure. Plan your air-sealing work for a mild fall day rather than mid-winter. Weatherstripping installation has no temperature restriction, so those tasks can be done any time of year.
Limitations and When to Call a Professional
DIY air sealing covers a wide range of common leak points effectively, but some situations are better left to licensed contractors. If you suspect significant air leakage in your attic, around recessed lighting fixtures that penetrate a ceiling, or near gas appliances and flues, consult a qualified professional. Improper sealing near combustion appliances can interfere with safe venting and is not a DIY task.
Similarly, draft-proofing alone won't compensate for missing or degraded insulation in walls or attic spaces. If your energy bills remain high after completing the steps here, an energy auditor can pinpoint deeper issues. You can also check our guide to commonly skipped maintenance tasks for related projects that are easy to overlook until they become costly.
This article is for general informational and educational purposes only. Always verify local building codes and consult a qualified professional before undertaking work involving gas lines, electrical systems, or structural components.