
Understanding Drywall Repairs Before You Start
Drywall - also called gypsum board or wallboard - is the standard interior wall surface in most US homes. It consists of a gypsum plaster core sandwiched between two layers of paper facing. It's durable for everyday use but vulnerable to dents, doorknob impacts, furniture dings, and the aftermath of plumbing or electrical work.
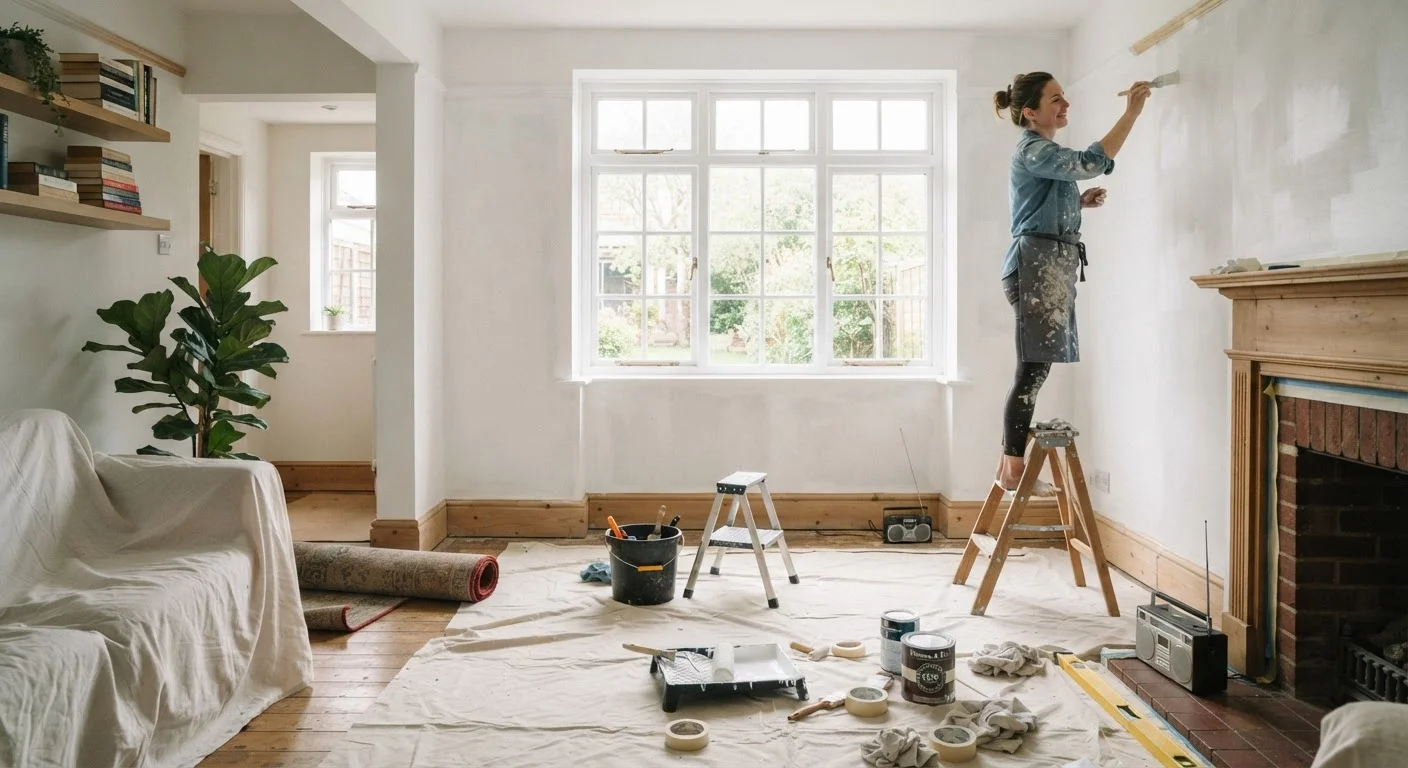
The good news: most drywall damage is cosmetic and very repairable with patience and the right technique. The challenge isn't the physical skill - it's resisting the urge to rush the drying and finishing stages. Patching is part of a broader home improvement skillset; if you're new to this kind of work, our guide to home renovation for first-time homeowners offers useful context on pacing and managing expectations for DIY projects.
Check for Hidden Wiring or Plumbing First
Before cutting into any wall, use a stud finder with AC detection or a separate wire detector to confirm no electrical wiring runs through the repair area. Cutting into live wires is a serious safety hazard. If your damage is near an outlet, switch, or plumbing fixture, consult a licensed electrician or plumber before proceeding.
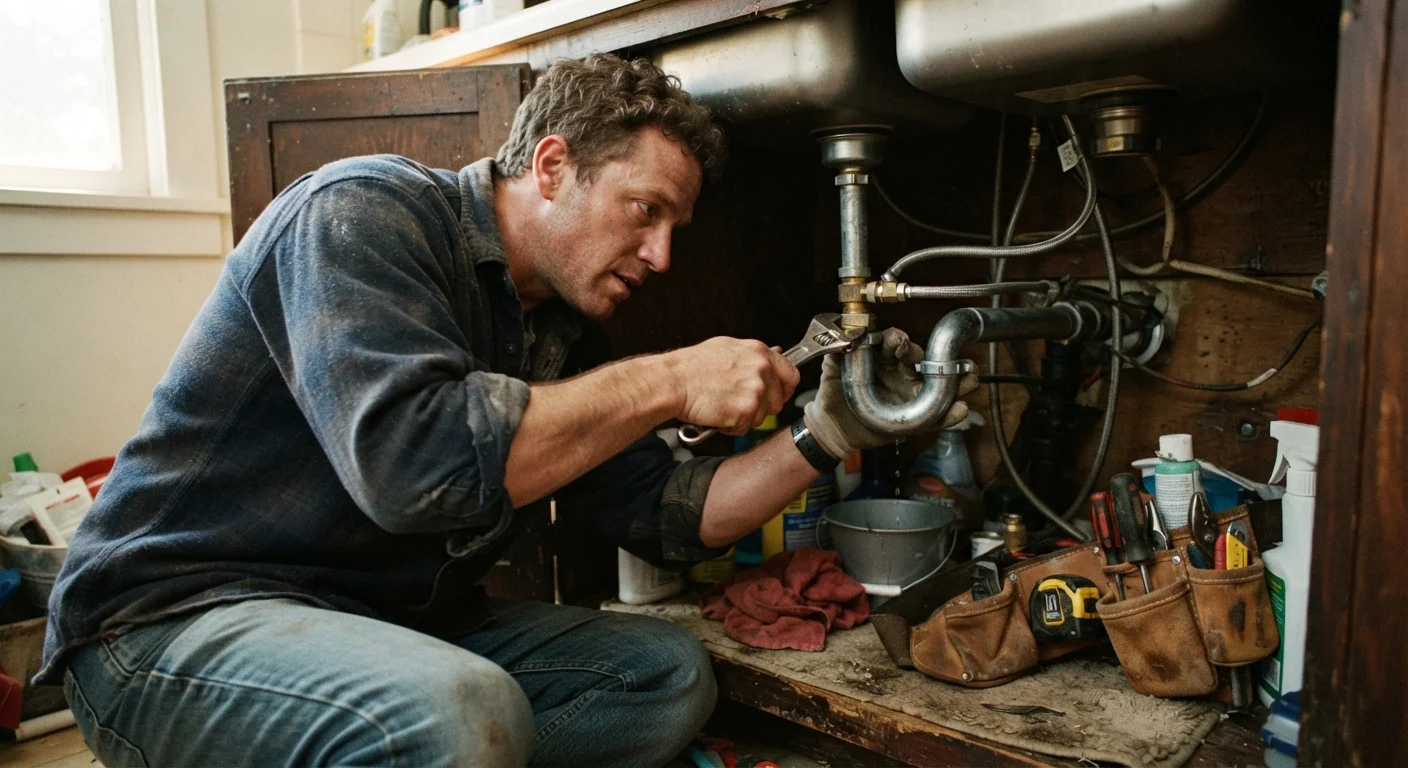
Before gathering materials, evaluate whether your wall damage might be related to a plumbing leak or hidden structural issue. Our article on plumbing tasks homeowners can handle can help you determine when a professional should assess the situation first.
Putty knife or drywall knife (3-6 inch)
Applies and smooths joint compound or spackle into the damaged area.
Sanding sponge or fine-grit sandpaper (120-150 grit)
Smooths dried compound between coats and before priming.
Joint compound (all-purpose or lightweight)
Fills and builds up the patch in layers for a flush, smooth surface.
Drywall patch kit or self-adhesive mesh patch
Provides backing support for medium-sized holes that lack structural support.
Drywall screws and backing board (1x3 or 1x4 wood strip)
Creates a secure anchor inside the wall cavity for larger patches.
Drywall primer
Seals the repaired area so it accepts paint evenly and doesn't flash.
Stud finder with AC wire detection
Locates framing members and identifies hidden electrical wires before cutting.
Utility knife or drywall saw
Cuts clean edges around larger damaged sections for a precise patch fit.
Step-by-Step: Patching the Damage
The process below covers the full range from small nail holes to larger cut-and-patch repairs. Work through the steps that match your damage size - skip backing steps if you're only filling a nail hole.
What you will need
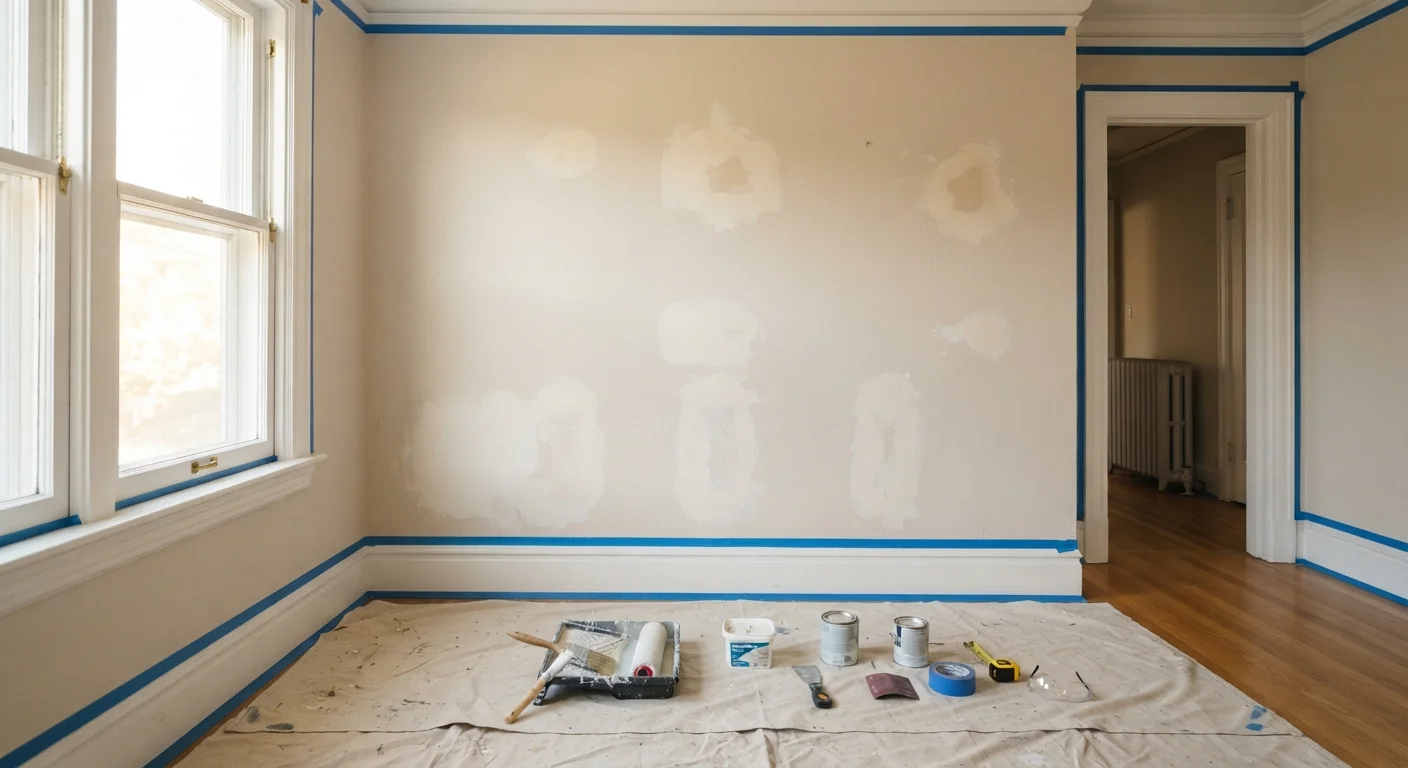
Assess the damage and gather your tools
The right approach depends on the hole size. Nail holes and small dents under ¼ inch can be filled directly with lightweight spackle. Holes between ¼ inch and about 4 inches need a self-adhesive mesh patch for backing. Holes larger than 4-6 inches require a cut-and-patch technique using a backing board and a new piece of drywall.
Gather all tools before starting - stopping mid-repair while compound is drying wastes time and can compromise adhesion.
Prepare the damaged area
Use a putty knife to scrape away any loose paper facing, crumbling gypsum, or old paint flaps around the hole. For larger damage, cut back to clean drywall edges using a utility knife or drywall saw. Slightly beveling the edges inward helps compound grip the repair area. Remove all dust with a dry cloth or vacuum.
Apply backing support (for holes over ¼ inch)
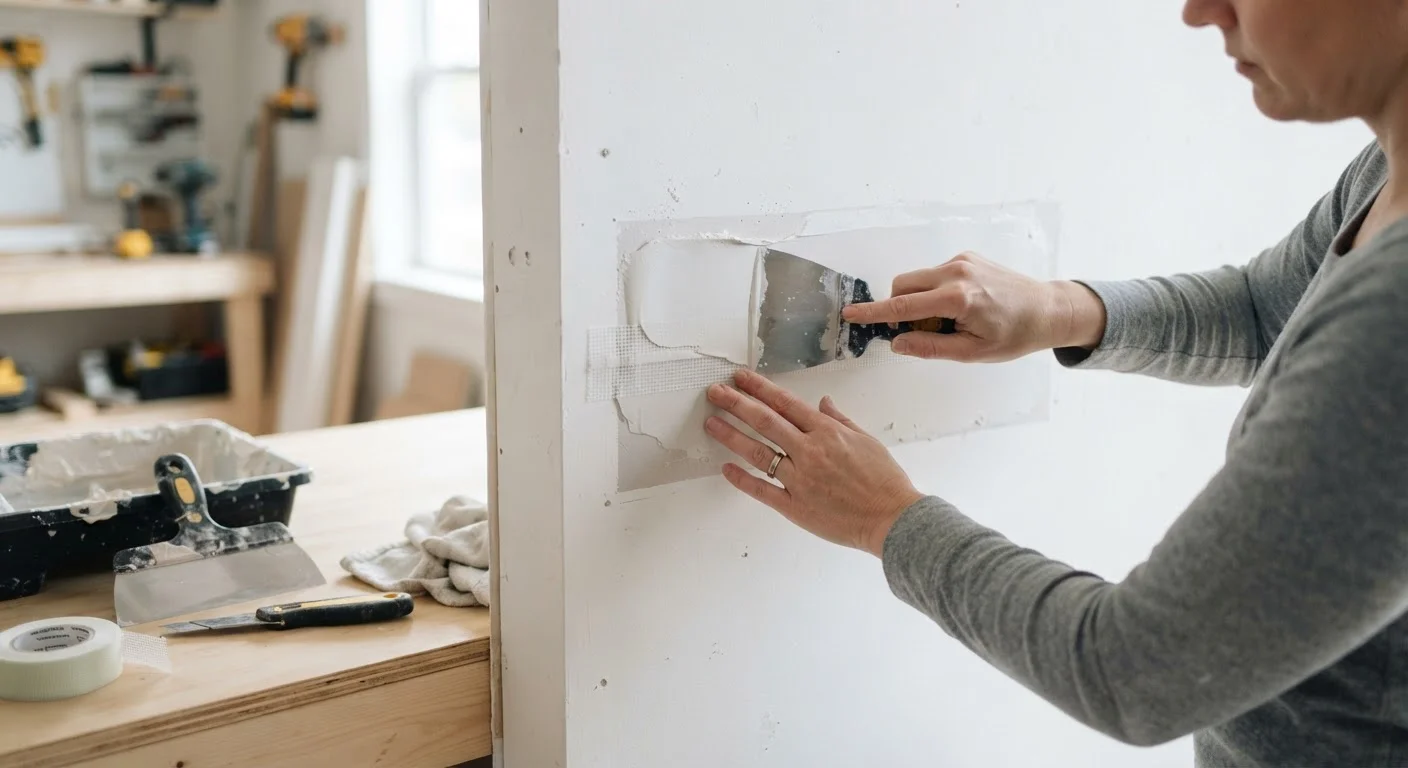
For holes between ¼ inch and 4 inches, press a self-adhesive mesh patch firmly over the opening. Smooth all edges so the mesh lies flat against the wall surface.
For holes larger than 4 inches, cut the damaged section into a clean rectangle. Cut a 1x3 or 1x4 wood strip several inches longer than the hole's height. Slide it into the wall cavity and hold it flat against the back of the drywall, then drive drywall screws through the existing drywall into the strip on each side of the opening. Cut a piece of new drywall to fit the opening and screw it into the backing strip.
Apply the first coat of joint compound
Using a 3-6 inch putty knife, apply joint compound over the patch, pressing it firmly into the mesh or filling the edges of the cut patch. Spread the compound thin and extend it a few inches beyond the repair edges. For small spackle repairs, one coat is often enough once dry. For mesh or cut patches, expect two to three coats.
Smooth as much as possible at this stage to minimize sanding later, but don't obsess - subsequent coats correct imperfections.
Sand, then apply additional coats
Once the first coat is completely dry (opaque white, no damp areas), lightly sand with 120-150 grit sandpaper or a sanding sponge. Wipe away dust with a slightly damp cloth. Apply a second coat, this time feathering the compound 8-10 inches beyond the patch in all directions using a wider 8-10 inch knife if available. Allow to dry fully, then sand again. A third thin coat, feathered even wider, produces the smoothest final surface.
Prime and paint the repaired area
After a final light sanding with 150-grit paper, wipe the area clean. Apply drywall primer to the entire repaired zone and allow to dry per the manufacturer's instructions. Once primed, the patch is ready for your finish paint. Apply at least two coats of paint, feathering outward to blend with the surrounding wall texture and sheen.
Don't Rush Drying Time
Applying a second coat of joint compound before the first is fully dry - not just surface-dry - leads to cracking and an uneven finish. In humid conditions, this can take 24 hours or longer per coat. A patch that looks white throughout (no darker wet spots) is ready for the next step.
Prime Before You Paint
Patched areas absorb paint differently than surrounding wall surfaces, which can create a noticeable sheen difference even with a color-matched paint. Applying a coat of drywall primer or PVA primer to the repair area before painting significantly improves final blending. This is one of the most overlooked steps that separates a professional-looking result from a visible patch.
Once the wall is smooth and primed, it's ready for painting. For best results, review what proper interior wall prep actually determines - surface preparation has a bigger impact on paint longevity than most people expect. And if you're doing broader weatherization work at the same time, caulking and draft-proofing are natural companion tasks that make sense to tackle in the same session.