
Why Prep Determines Everything
Most people focus on choosing the right color or paint sheen - and those choices matter - but experienced painters know that what happens before the first coat opens is what separates a job that lasts from one that starts flaking within a season or two.
Paint adheres to what's already on the wall. If the surface is dusty, greasy, cracked, or improperly primed, even a premium paint will struggle to bond well. The result is bubbling, peeling, and visible seams that require costly correction. Getting the prep right is less about perfection and more about removing every obstacle between the paint and a clean, stable surface.
“The paint is only as good as what's underneath it. Preparation isn't the boring part - it's the part that actually does the work.”
— Bob Vila, Home improvement expert and television host
Core Prep Practices That Make the Difference
The following practices reflect what consistently distinguishes a long-lasting interior paint job from one that needs redoing far too soon. Work through them in order - each step builds on the last.
Wash walls thoroughly before any other prep step begins.
Dust, cooking grease, and residue from cleaning products all prevent paint from bonding to the surface. Even walls that look clean can carry an invisible film that causes adhesion failure. A simple wash with a diluted TSP substitute (trisodium phosphate alternative, widely available at hardware stores) removes most contaminants effectively.
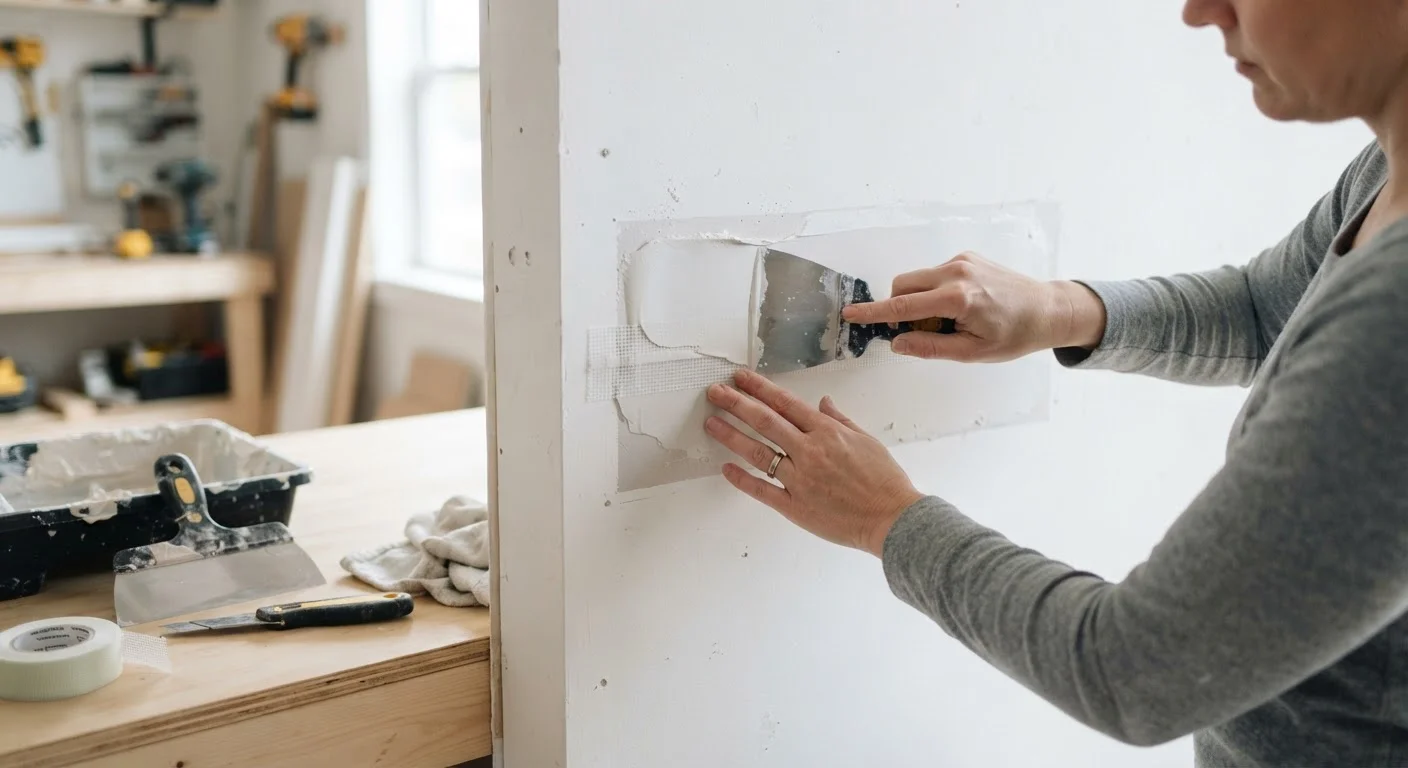
Fill every crack, hole, and divot before priming.
Paint doesn't fill imperfections - it highlights them. Light catches uneven surfaces at an angle, making even small dents visible after painting. Patching ahead of priming means repairs integrate fully with the wall surface rather than remaining slightly proud or recessed.
Sand repaired areas smooth and feather the edges into the surrounding wall.
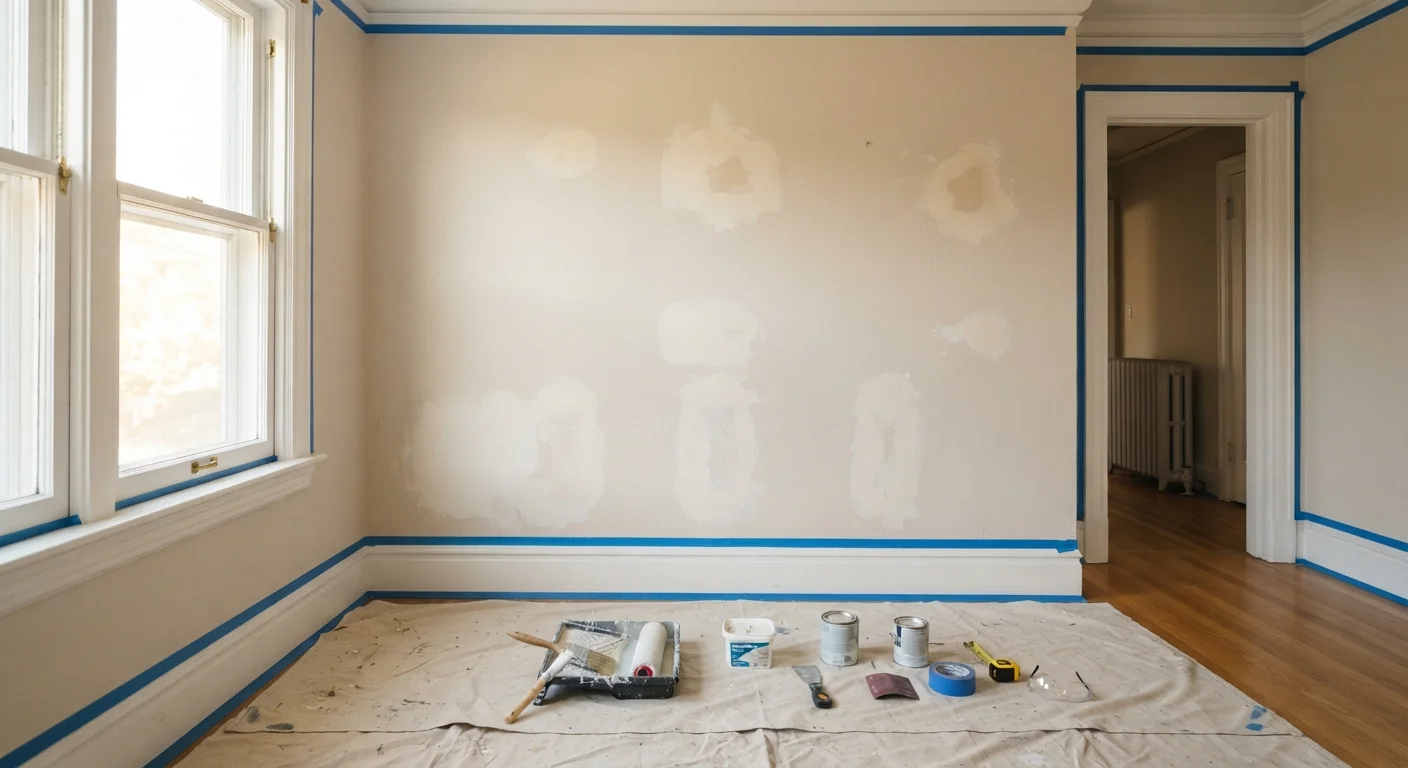
A patch that isn't sanded flush creates a visible ring or ridge once painted. Feathering - gradually blending the repair into the surrounding surface with fine-grit sandpaper - eliminates this edge so the paint finish reads as one continuous plane.
Apply a primer appropriate to your wall condition before any topcoat.
Primer seals porous surfaces, blocks stains, and creates a uniform base that allows the topcoat to spread evenly and adhere correctly. Skipping primer on new drywall or repaired sections causes uneven sheen - a patchwork effect called flashing - that repainting alone won't fix.
Apply painter's tape carefully and press edges down firmly.
Loose tape edges allow paint to seep behind the tape, leaving a jagged line along trim, ceilings, and outlet covers. Pressing the tape edge down with a putty knife or your fingernail takes only seconds per section and prevents hours of touch-up work.
Quick Wins You Can Do Before the Weekend
Not every prep task requires a full day. Several high-impact steps take under an hour and dramatically improve your results. Start with these before committing to the full project.
For walls with more substantial damage, see our complete guide to drywall patching before you reach for the primer.
Test Your Primer Before Committing
If you're unsure whether a wall needs a stain-blocking primer or a standard drywall primer, test a small section first and let it dry fully. If the stain bleeds through or the sheen looks uneven, upgrade to a shellac-based or oil-based stain blocker before proceeding. This five-minute check can save an entire re-prime later.
The Numbers Behind Skipping Steps
It can be tempting to move quickly - especially when the project feels straightforward. But the time spent on prep typically represents a fraction of the labor involved in repainting a poorly bonded surface. Understanding what corners cost helps put the front-end investment in perspective.
80%
Of premature paint failures linked to poor prep
Industry painting professionals commonly attribute the large majority of early paint failures to inadequate surface preparation rather than paint quality.
2-3×
Longer paint life with proper priming
Primed surfaces generally hold topcoats significantly longer than unprimed ones, reducing the frequency of full repaints over time.
Paint prep isn't glamorous, but it's the part of the job that actually earns its keep. A wall that's been properly cleaned, patched, sanded, and primed will hold a finish far longer - making every coat of paint you apply a smarter use of time and money.