

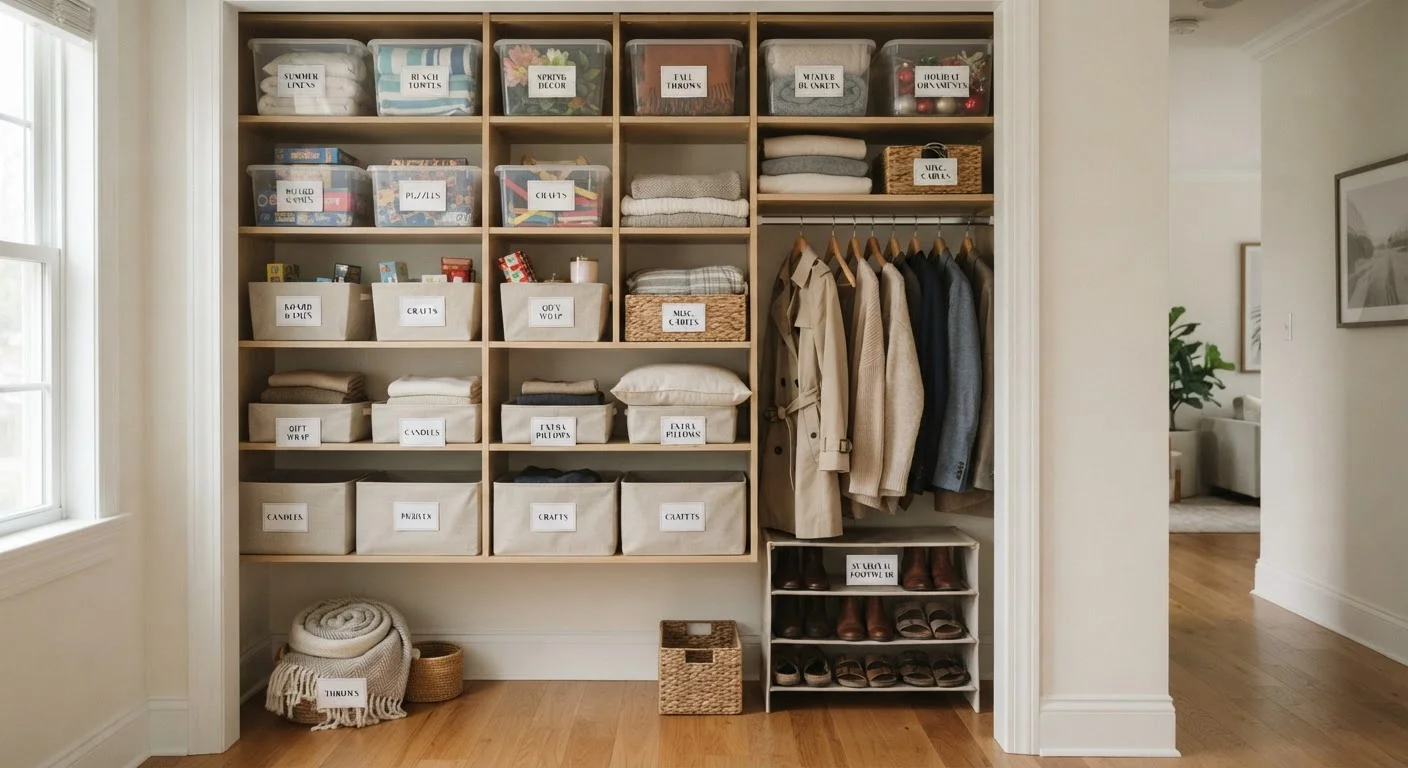
Why Seasonal Rotation Changes How a Home Feels
Most homes don't suffer from a lack of storage - they suffer from storing too much in the wrong places. When winter coats, summer fans, holiday décor, and everyday items compete for the same limited closet space, nothing is truly accessible. The result is a home that feels perpetually cluttered even after tidying.
Seasonal rotation solves this by treating your home's storage space as a dynamic system rather than a fixed one. The idea is straightforward: items you won't need for months are stored out of the way, while the items you reach for daily are given prime, easy-access real estate. Each season, you swap them.
The practical effect is significant. Closets feel less chaotic. Morning routines move faster. You're less likely to overbuy items you already own but couldn't find. And the home adapts to how you actually live rather than holding everything in permanent limbo.
This approach pairs naturally with broader habits that prevent clutter from accumulating in the first place. Sustainable clutter-prevention habits are what make a rotated home stay manageable over time, rather than reverting to chaos between swaps.
What you will need
How to Rotate Your Home's Storage Season by Season
The steps below walk you through a complete rotation cycle - from identifying what should be stored to building a schedule that makes future swaps nearly effortless. You'll need a couple of hours for the first full rotation; subsequent swaps typically take far less time once your system is in place.
Clear or labeled storage bins
Hold off-season items in a stackable, dust-free format that can be identified at a glance.
Vacuum-seal storage bags
Compress bulky bedding, coats, and sweaters to significantly reduce the storage footprint.
Label maker or permanent marker and tape
Clearly mark bin contents so you can retrieve the right container without opening everything.
Inventory list or simple spreadsheet
Track which containers hold what, and where they're stored, so nothing gets forgotten.
Shelving unit or under-bed risers
Maximize vertical and low-clearance storage space for bins and bags.
Audit what you actually own by season
Before you move a single bin, walk through your home with a notepad and categorize items by when you realistically use them. Common seasonal categories include:
- Winter: heavy coats, wool blankets, holiday décor, snow boots, space heaters
- Summer: fans, beach towels, swimwear, outdoor entertaining supplies, gardening tools
- Spring/Fall: transitional clothing layers, allergy supplies, lighter bedding
Be honest about what you actually reached for last season. Items that went untouched for an entire year are candidates for decluttering rather than rotation. If you're working through a bigger purge at the same time, our measured approach to decluttering can help you work through that step sustainably.
Designate a primary off-season storage zone
Choose a consistent location where off-season items will always live. This could be a hall closet's upper shelf, a section of the basement, the space under a bed, or a dedicated storage unit. The key is consistency - when your storage zone is predictable, swaps take minutes rather than hours.
If floor space is tight, think upward. Using vertical wall and ceiling height dramatically expands what you can store without taking over a room. For compact homes, small-space storage strategies offer approaches specifically suited to limited square footage.
Pack off-season items into clearly labeled containers
Use uniform containers when possible - consistent sizing stacks more efficiently and is easier to reorganize. As you pack each bin:
- Clean items before storing (oils, dirt, and odors worsen over months in sealed containers)
- Use vacuum-seal bags for bulky textiles like comforters, parkas, and fleece throws
- Place a simple contents list inside the lid or tape it to the outside
- Label each bin with the season and category (e.g., "WINTER - Bedding" or "SUMMER - Outdoor Entertaining")
Bring current-season items forward into accessible spots
Once off-season bins are packed and stored, reorganize your accessible spaces so that what you need right now is front and center. Place in-season items at eye level, in drawers you open daily, and on hooks or shelves you can reach without a step stool. This is the payoff: closets, linen shelves, and entryway storage should feel noticeably calmer and easier to navigate.
Schedule your next rotation before you close the bins
The most common reason seasonal rotation falls apart is that the swap never gets scheduled. Set a recurring calendar reminder for the two major transitions - typically late March and late September in most US climates, adjusted for your local conditions. Tie your rotation to something you already do: a long weekend, the start of a new month, or alongside seasonal home maintenance tasks you perform at the same time of year.
At each swap, take 15 minutes to evaluate: Did you use everything that came out last season? Anything unused becomes a declutter candidate, not a storage resident.
Start With One Category, Not the Whole Home
If a full-home rotation feels daunting, start with just clothing or bedding - two categories that yield obvious immediate payoff. Once you've completed one successful swap, extending the system to other areas feels far more manageable. Small wins build momentum more reliably than ambitious overhauls.
If your household includes others with different organizational habits or storage preferences, it helps to align on the system before you start moving things. Organizing a shared home requires a bit more coordination, but the rotation framework still applies.
Maintaining the System Beyond the First Rotation
A seasonal rotation only delivers lasting value if it becomes a repeatable habit rather than a one-time project. The good news is that each subsequent rotation gets faster - your containers are labeled, your zones are established, and you know the rhythm.
The transitional moment (when you're pulling out next season's bins) is also the best time to evaluate the system itself. Ask: Were labels clear enough? Did any storage zone become inaccessible or disorganized? Did you over-pack certain bins and under-use others? Small adjustments at each swap improve the system over time without requiring a full overhaul.
Pairing your seasonal rotation with your broader home maintenance calendar makes it easier to remember. A seasonal home maintenance calendar gives you a month-by-month framework for all the tasks - organization included - that keep a home running smoothly year-round.
Avoid Storing Items You're Just Avoiding
Seasonal rotation can become a way to delay decisions about items you no longer want or use. If something comes out of storage each season and goes back unused, it isn't a seasonal item - it's clutter with extra steps. Use each rotation as a low-pressure opportunity to let those items go rather than cycling them indefinitely.