
What Cracked Grout Is Actually Telling You
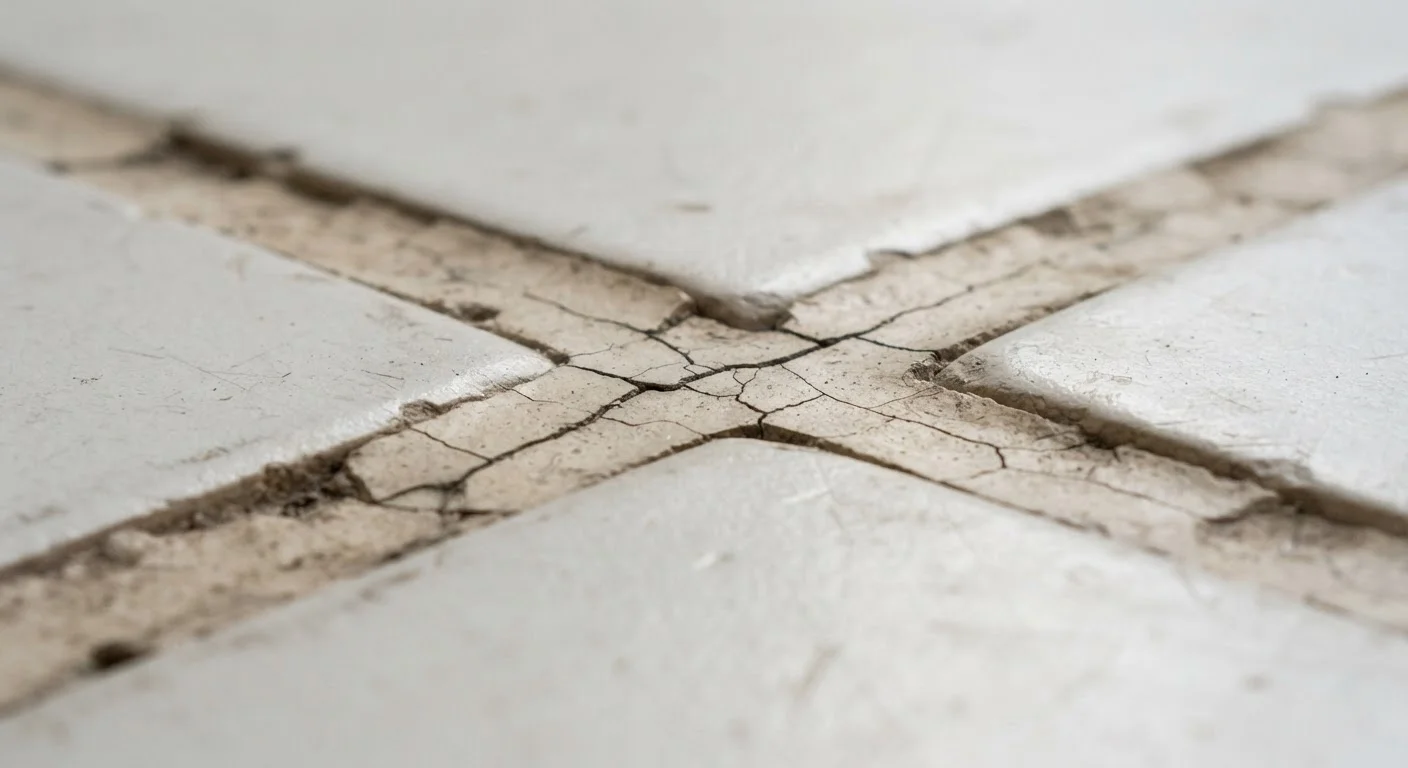
Grout lines are often the first place a tiled surface shows stress - and that's partly by design. Grout is relatively brittle compared to the tile and substrate around it, so when movement or pressure builds up, grout gives way before the tile does. In that sense, cracked grout is acting as an early warning system.
The key question is why the grout cracked. Hairline cracks that appear uniformly and soon after installation often point to an installation error - too much water in the mix, insufficient curing time, or grout applied before the tile adhesive fully set. Cracks that develop months or years later, especially in specific zones like doorways, floor transitions, or around plumbing fixtures, tend to indicate ongoing movement in the subfloor or wall substrate.
If tapping tiles near cracked grout produces a hollow sound, that's a sign the tile has debonded from the surface beneath it - a condition called delamination. At that point, the problem extends well beyond cosmetics, and simply refilling grout lines will not hold. Structural moisture intrusion, subfloor flex, or thermal expansion cycling are common culprits worth investigating before any repair begins.
Everyday routines can also play a role - harsh cleaners, repeated scrubbing, and even consistent foot traffic patterns can degrade grout over time. Our article on small habits that quietly damage household surfaces covers some of these overlooked contributors.
Common Mistakes That Lead to Grout Failure
Understanding what goes wrong during installation and maintenance helps homeowners make better decisions - whether they're supervising a contractor or evaluating existing tilework before a repair.
Applying grout before the tile adhesive or mortar has fully cured.
Why it happens: Installers often want to complete a job quickly, and the mortar may look dry on the surface while remaining wet underneath.
Using too much water when mixing grout, weakening its final strength.
Why it happens: A wetter mix is easier to work with and spreads more smoothly, which makes it tempting, especially for beginners.
Failing to leave expansion joints at walls, transitions, and corners.
Why it happens: Expansion joints are sometimes seen as an aesthetic compromise, or installers are unaware they are required by tile industry standards.
Installing tile over a substrate with too much flex or deflection.
Why it happens: Subfloor flex is not always visible, and homeowners or installers may assume a floor feels stable enough when it actually moves under load.
Sealing grout before it has fully cured, trapping moisture inside the joint.
Why it happens: Sealing is often done immediately after cleanup to finish the job in one session.
72 hrs
Minimum grout cure time before sealing
Most grout product manufacturers specify waiting 48-72 hours at minimum before applying sealer, with longer windows in high-humidity environments.
2/3
Depth of old grout removal before regrouting
Tile installation standards generally call for removing existing grout to at least two-thirds of the tile depth to ensure adequate bonding of new material.
When Regrouting Makes Sense - and When It Doesn't
Regrouting is appropriate when the grout itself has failed due to age, minor shrinkage, or surface wear, and the tiles remain firmly bonded. A simple tap test - knocking lightly on each tile - should produce a solid sound. Any hollow or drum-like response suggests adhesive failure, and regrouting alone will not restore the installation.
Before applying new grout, all old material must be fully removed from the joint, typically to a depth of at least two-thirds of the tile thickness. Leaving old grout in place and filling over it creates a weak bond that often fails quickly. The new grout mix should match the original joint width - wider joints generally require sanded grout, while joints under one-eighth of an inch typically call for unsanded varieties.
Don't Regrout Over Active Water Damage
If cracked grout is located near a shower, tub surround, or sink and the wall or floor feels soft or spongy to the touch, water may have already infiltrated the substrate. Applying new grout without addressing moisture intrusion can trap water inside the wall cavity, accelerating mold growth and structural deterioration. In these cases, the affected tiles typically need to be removed and the substrate assessed or replaced before any surface repair is attempted.
For floors with noticeable flex - a common issue in older homes with wood-framed subfloors - an isolation membrane installed between the subfloor and tile layer can absorb movement and reduce future cracking. This is a step many DIY installations skip, and it's often the reason grout problems return. When in doubt about the extent of substrate damage or the appropriate repair approach, consulting a licensed tile contractor is the most reliable path forward.